How to Build a Blog Using PHP and MySQL [Complete Step-by-Step Guide for Beginners]
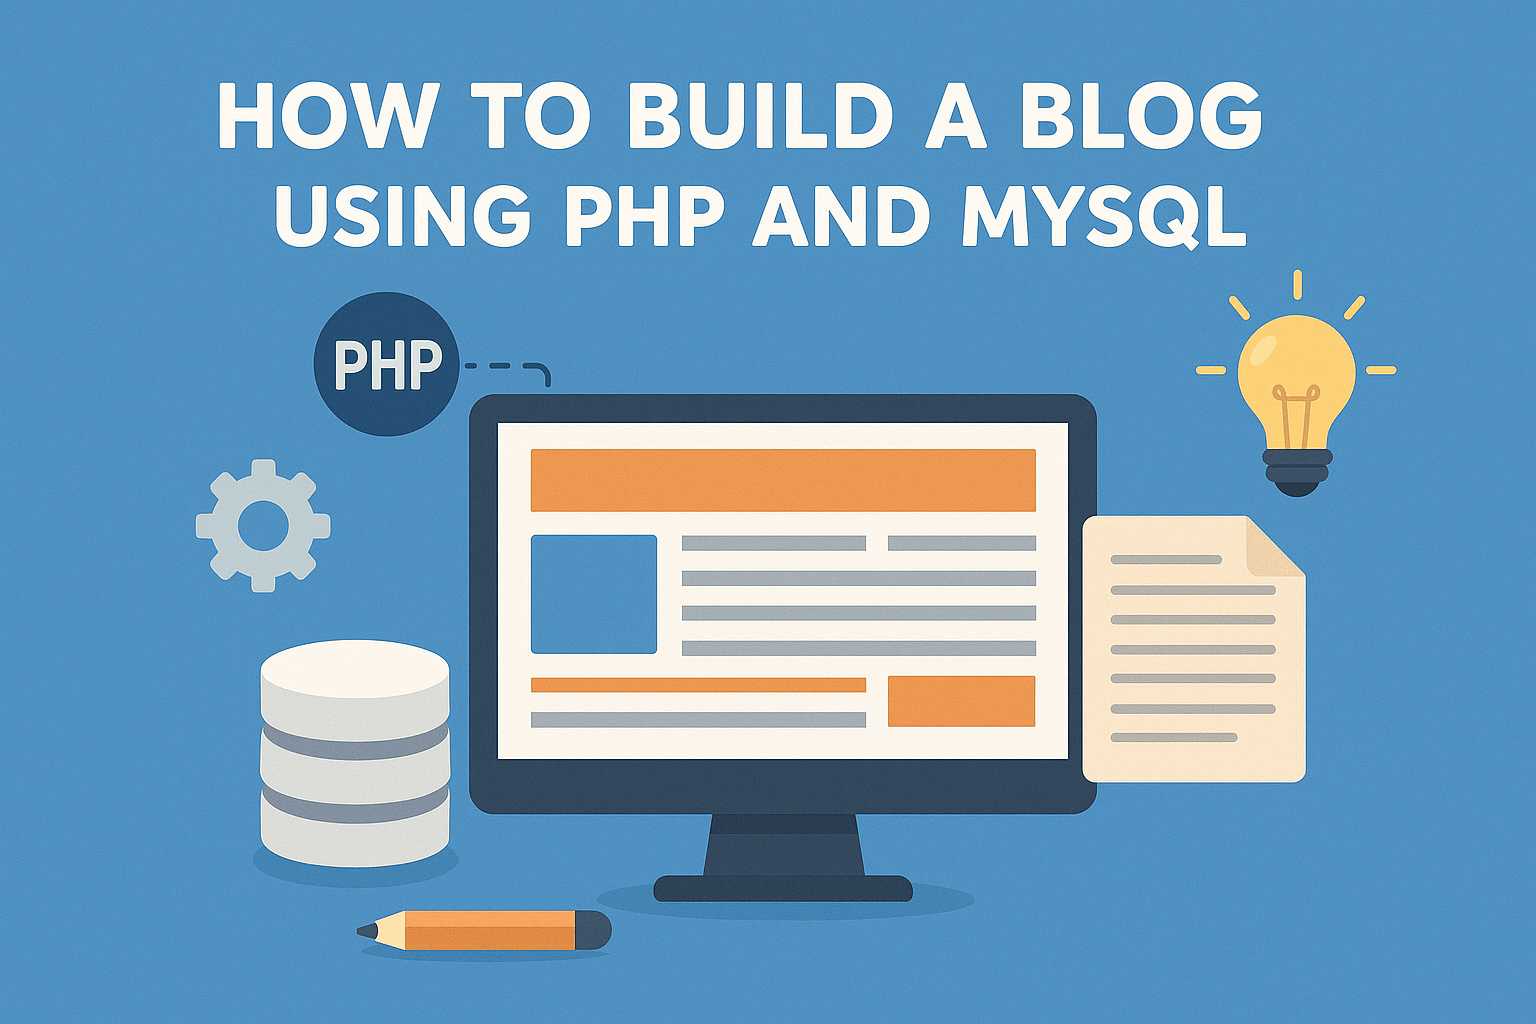
If you’re looking to build a blog from scratch using PHP and MySQL, you’re in the right place. In this tutorial, we’ll walk through everything you need—from setting up your database to building a fully functional blog system with complete CRUD (Create, Read, Update, Delete) operations.
Whether you’re a beginner PHP developer or someone looking to understand how a simple PHP blog system works, this step-by-step guide will get you there.
🚀 What We’re Building
A clean and simple blog CMS that allows users to:
Add new blog posts
View all blog posts
Read individual posts
Edit and update posts
Delete posts
All built using PHP and MySQL, with minimal setup and no frameworks.
🧰 Technologies Required
PHP (>= 7.x recommended)
MySQL or MariaDB
Apache/Nginx with PHP support (XAMPP/WAMP for local dev)
Code Editor (VS Code, Sublime Text, etc.)
🧱 Step 1: Setting Up the Database
Open phpMyAdmin and create a database called blog_system. Then, run this SQL to create a posts table:
CREATE TABLE posts (
id INT AUTO_INCREMENT PRIMARY KEY,
title VARCHAR(255) NOT NULL,
content TEXT NOT NULL,
created_at TIMESTAMP DEFAULT CURRENT_TIMESTAMP
);
This schema is the heart of our PHP MySQL blog tutorial, defining where our blog content will be stored.
📁 Step 2: Folder Structure
Structure your project like this:
/blog/
├── config.php
├── db.php
├── index.php
├── post.php
├── add.php
├── edit.php
├── delete.php
├── header.php
└── footer.php
⚙️ Step 3: Config and DB Connection
In config.php, store your DB credentials:
<?php
$host = ‘localhost’;
$user = ‘root’;
$pass = ”;
$dbname = ‘blog_system’;
?>
In db.php, connect to the database:
<?php
include ‘config.php’;
$conn = new mysqli($host, $user, $pass, $dbname);
if ($conn->connect_error) {
die(“Connection failed: ” . $conn->connect_error);
}
?>
This basic config is reusable in any PHP MySQL web application.
📝 Step 4: CRUD – Blog Functionalities
🧾 Display All Blog Posts (index.php)
Fetch and display posts in descending order using SELECT * FROM posts ORDER BY created_at DESC.
📖 View a Single Blog Post (post.php)
Use GET method to retrieve and show a specific post.
✍️ Add a New Blog Post (add.php)
Use POST to collect title and content, and insert it into the DB.
🔄 Edit Blog Post (edit.php)
Fetch the post by ID, and update using a prepared statement.
❌ Delete Blog Post (delete.php)
Use GET to get the post ID and run a DELETE SQL query.
These steps make up the core of any blog system built with PHP and MySQL.
🎨 Step 5: Basic Layout
Use header.php and footer.php for consistent layout and branding. Add basic HTML/CSS or Bootstrap for styling.
<!– header.php –>
<!DOCTYPE html>
<html>
<head><title>My PHP Blog</title></head>
<body>
<h1>Welcome to My Blog</h1>
<hr>
🔧 Step 6: Final Enhancements
This simple PHP blog can be improved by adding:
Search functionality
Categories/tags
Admin authentication
Comment section
Image upload for posts
Pagination
SEO-friendly URLs
For now, this gives you a solid blog system in PHP with MySQL that’s easy to build and expand.
🧠 Why Use PHP and MySQL?
Open-source and beginner-friendly
Works great for small CMS systems
Ideal for learning CRUD principles
Forms the foundation for larger PHP frameworks like Laravel
✅ Conclusion
Now you’ve learned how to build a blog using PHP and MySQL from scratch! This beginner-friendly blog system gives you a real-world application to understand database operations, form handling, and page routing in PHP.
If you’re looking to expand, try turning this into a full-fledged CMS or use it as the backend for a dynamic website.





2 Comments
http://Boyarka-Inform.Com
Simply ant to say your article is as surprising.
The clearness in your post is just excellent and i copuld assume you’re an expert on this subject.
Well with your permission allow me to grab your RSS feed to
keep up to date with forthcoming post. Thanks a million and please
eep up the enjoyable work. http://Boyarka-Inform.com/
Dianna
Online casinos will be shaped by new technologies.
Players can expect mobile-first gamiung ,
virtual poker and roulette rooms ️,
and blockchain payments .
Bonuses will become dynamic and tailored ,
while self-exclusion systems will protect users.
The experience will be more social ,
with team jackpots,
and instant problem solving .
Thus, virtual platforms will deliver a responsible yet thrilling experience.
Feell free to visit my web-site web page