


Create Custom Elementor Widget (Full Tutorial with Code Sample)
- Code Scaleup

- May 27, 2025
- No Comments
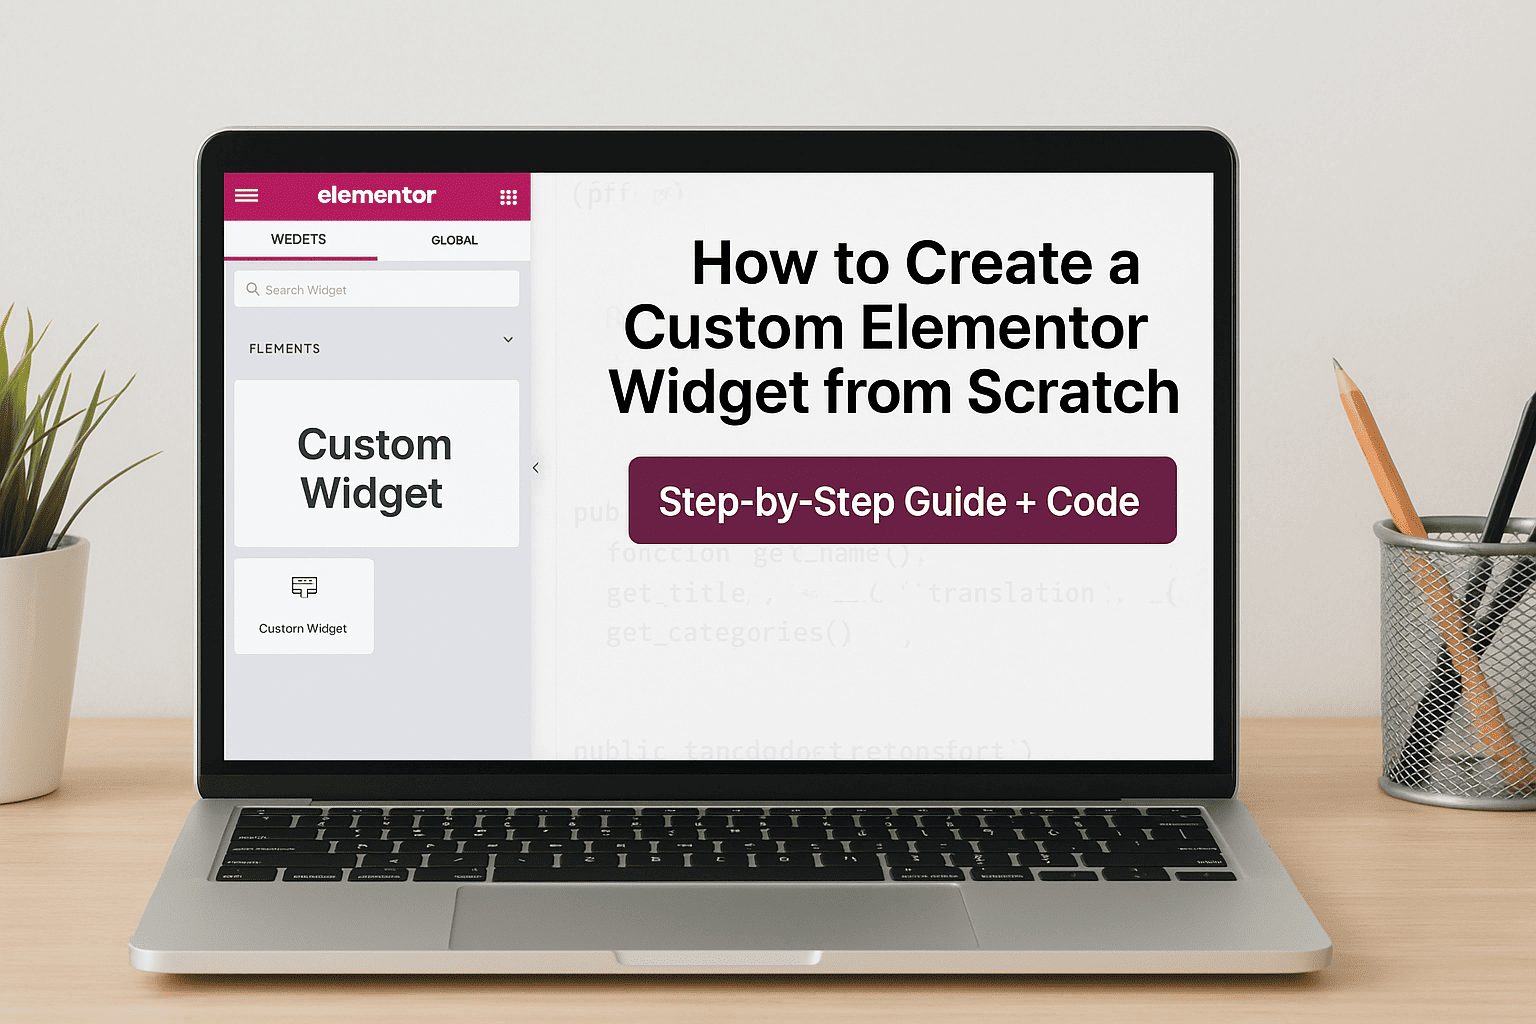
Want to create a custom Elementor widget for your WordPress site? This step-by-step tutorial includes code, controls, rendering, and styling tips to get you started.
Elementor is a powerful WordPress page builder that allows you to create custom layouts visually. But did you know you can extend its power by creating your own custom Elementor widgets?
In this guide, you’ll learn how to create a custom Elementor widget from scratch with all the essential features — including widget registration, controls, styling, and frontend rendering.
🧱 What is a Custom Elementor Widget?
A custom Elementor widget is a plugin or PHP module that adds new content elements to the Elementor editor. These widgets are extremely useful when you need custom functionality not provided by default.
🧰 Folder Structure
Here’s a simple recommended folder structure for a custom Elementor widget plugin:
🧩 Step-by-Step: How to Create a Custom Elementor Widget
1. Create Your Plugin File
Create a folder in wp-content/plugins and name it my-elementor-widget. Then, create the main plugin file my-elementor-widget.php.
if ( ! defined( ‘ABSPATH’ ) ) exit; // Exit if accessed directly
// Register Widget
function my_elementor_widget_register( $widgets_manager ) {
require_once( __DIR__ . ‘/widgets/hello-world-widget.php’ );
$widgets_manager->register( new \Hello_World_Widget() );
}
add_action( ‘elementor/widgets/register’, ‘my_elementor_widget_register’ );
2. Register the Widget Class
Create a new file at widgets/hello-world-widget.php and add the widget class.
if ( ! defined( ‘ABSPATH’ ) ) exit;
class Hello_World_Widget extends Widget_Base {
public function get_name() {
return ‘hello_world’;
}
public function get_title() {
return __( ‘Hello World’, ‘plugin-name’ );
}
public function get_icon() {
return ‘eicon-person’;
}
public function get_categories() {
return [ ‘basic’ ];
}
// Add widget controls
protected function _register_controls() {
$this->start_controls_section(
‘content_section’,
[
‘label’ => __( ‘Content’, ‘plugin-name’ ),
‘tab’ => Controls_Manager::TAB_CONTENT,
]
);
$this->add_control(
‘title’,
[
‘label’ => __( ‘Title’, ‘plugin-name’ ),
‘type’ => Controls_Manager::TEXT,
‘default’ => __( ‘Hello World’, ‘plugin-name’ ),
]
);
$this->add_control(
‘description’,
[
‘label’ => __( ‘Description’, ‘plugin-name’ ),
‘type’ => Controls_Manager::TEXTAREA,
‘default’ => __( ‘This is a custom Elementor widget.’, ‘plugin-name’ ),
]
);
$this->end_controls_section();
}
// Render frontend output
protected function render() {
$settings = $this->get_settings_for_display();
echo ‘<div class=”hello-world-widget”>’;
echo ‘<h2>’ . esc_html( $settings[‘title’] ) . ‘</h2>’;
echo ‘<p>’ . esc_html( $settings[‘description’] ) . ‘</p>’;
echo ‘</div>’;
}
// Optional: Render in the editor preview
protected function _content_template() {
<# if ( settings.title ) { #>
<h2>{{ settings.title }}</h2>
<# } #>
<# if ( settings.description ) { #>
<p>{{ settings.description }}</p>
<# } #>
}
}
🎨 Styling Your Widget
You can optionally include a CSS file inside the assets/ folder and enqueue it:
Example: assets/style.css
🧪 Features Breakdown
| Feature | Purpose |
|---|---|
get_name() | Internal widget ID (used in shortcode) |
get_title() | Display name in Elementor editor |
get_icon() | Icon shown in Elementor panel |
get_categories() | Which tab it appears under |
start_controls_section() | Start a settings group |
add_control() | Define individual input fields |
render() | Frontend HTML output |
_content_template() | Editor live preview using JS |
✅ Final Words
You now have a fully functional custom Elementor widget that can accept user inputs and render them on the frontend. This is a powerful way to extend Elementor’s capabilities, especially if you want to tailor unique design elements or integrate business-specific features.